MVSEC Dataloader
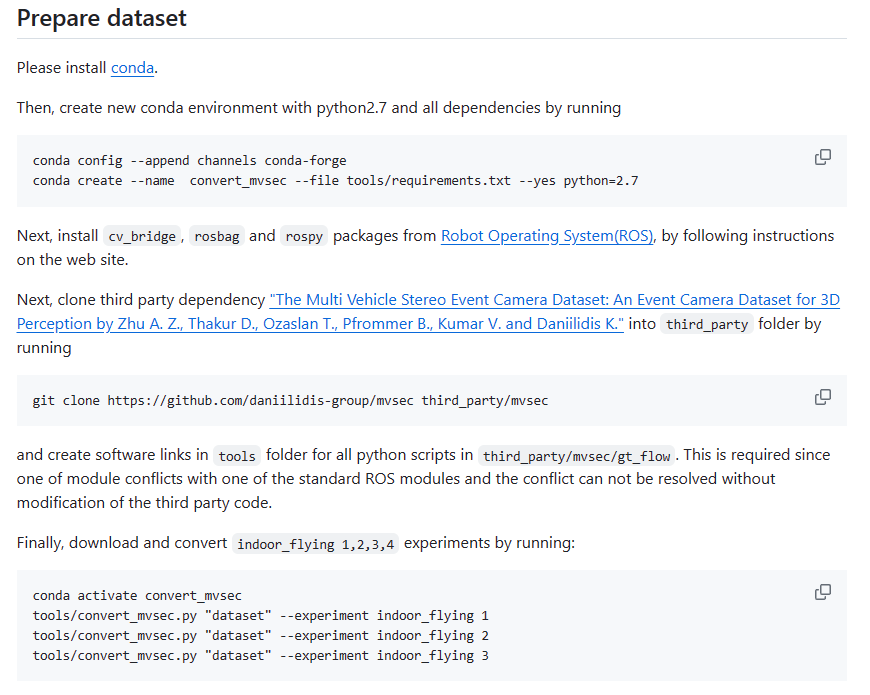
下载代码
1
git clone https://github.com/tlkvstepan/event_stereo_ICCV2019.git
配置环境
设置软连接
在 linux 中设置软连接,进入./tools文件夹 使用 ln 命令进行软连接:ln -s 源文件 目标文件 运行以下命令创建 convert_mvsec.py 与 third_party/mvsec/tools/gt_flow/ 之间的软连接:
1
ln -s convert_mvsec.py /home/event_stereo_ICCV2019/third_party/mvsec/tools/gt_flow/
运行
对于 tools/convert_mvsec.py, 修改文件开头的文件路径,分别指向 event_stereo_ICCV2019/third_party/mvsec/tools/gt_flow 和 event_stereo_ICCV2019/src
1
2
3
4
5
6
7
8
import cv_bridge
sys.path.append('/home/event_stereo_ICCV2019/third_party/mvsec/tools/gt_flow')
import bag_indexer
import calibration
import downloader
sys.path.append(pkg_resources.resource_filename(__name__, '../src'))
sys.path.append("/home/event_stereo_ICCV2019/src")
from dense_deep_event_stereo import dataset_constants
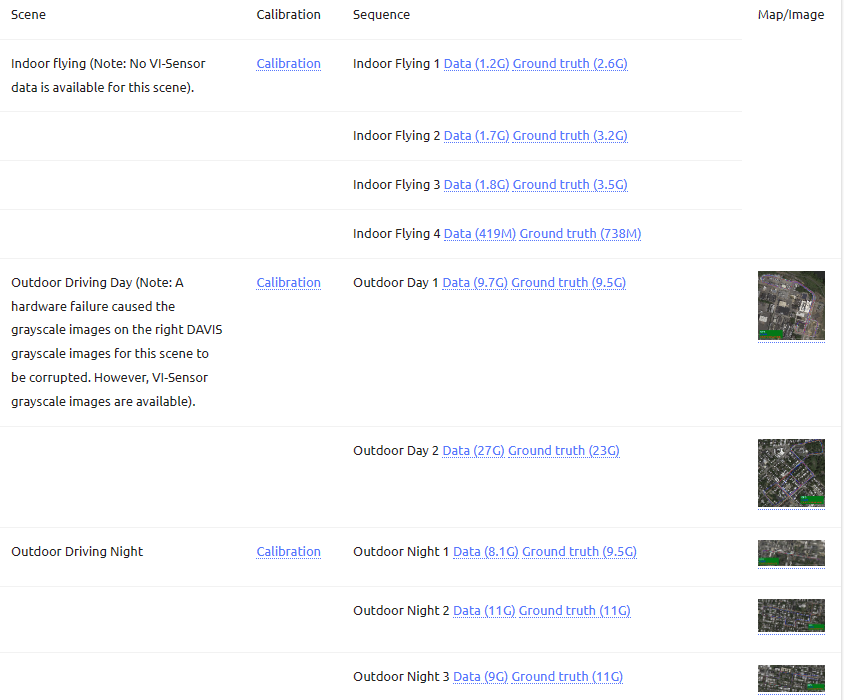
运行 tools/convert_mvsec.py. 自动下载 indoor_flying1_data.bag 等文件到 ./temp 文件夹, 并将结果输出到 ./output 文件夹
1
python3 tools/convert_mvsec.py ./output --experiment indoor_flying 1 --temporal_folder ./temp
输出存储在 ./output, 包含以下文件夹:
disparity_imageevent0event1image0image1timestamps.txt
左目事件图像在 ./output/event0 文件夹中,右目事件图像在 ./output/event1 文件夹中。以.npy格式存储。 运行以下代码将 .npy文件转换为 .png格式
1
2
3
4
5
6
7
8
9
10
11
12
13
14
15
16
import numpy as np
import os
import cv2
import matplotlib.pyplot as plt

# read 000233.npy file
event = np.load('./dataset/indoor_flying_1/event0/000233.npy')
print(event.shape)
print(event)
# 第2维作为x坐标,第3维作为y坐标,重构为图像
event_img = np.zeros((260,346,3))
for i in range(event.shape[0]):
    event_img[int(event[i,2]),int(event[i,1]),0] += 100
    event_img[int(event[i,2]),int(event[i,1]),1] += 100
    event_img[int(event[i,2]),int(event[i,1]),2] += 100
cv2.imwrite('/home/event_stereo_ICCV2019/000000.png',event_img)
mvsec 数据集共有9段数据 对于 outdoor_night 1, 同理
1
python3 tools/convert_mvsec.py ./output --experiment outdoor_night 1 --temporal_folder ./temp
This post is licensed under CC BY 4.0 by the author.

